
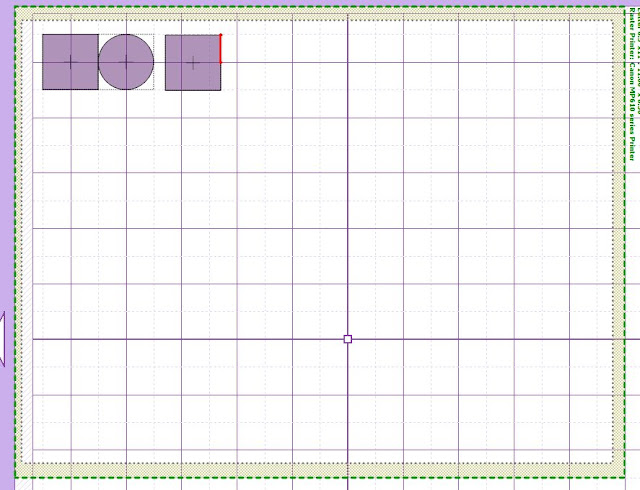
So grab yourself some squares and circles from Basic Shapes (you can do this in other programs as well but I will demonstrate it in MTC) and let's get started!
.JPG)
Rotate one square to a diamond (use the Ctrl key as you rotate to control it in 15 degree increments).

Use the re-size arrows or the dimension settings to make a diamond that is 4.5" x 2.25".

Now add a rectangle that is 3" x 1", and center it below the diamond, overlapping it about 3/4".

Use the scew arrows to change it into a rhomboid with a more narrow upper edge. 

Grab that circle and change it into an oval that is approximately 2.65" x 1". Place it as shown over the rectangle. Now copy it and move the second one over to cover the other side of the rectangle.

Here's a close-up of how it should look.

Join the 2 ovals together. Now select the oval shape and the rectangle and do a Boolean join. (I also duplicated and rotated the diamond in this image - I forgot to mention that part so do it now).

Your project should look like this (more or less) at this point. You can stop at this point and have a card. But we are going to add another flap to make a pocket (for gift cards, money, etc).

Place a rectangle over the lower portion of the hat. We are going to cut off the part that extends into the upper diamond. (You could also just move it down but I wanted a thinner hat brim portion).

Do a Boolean join to get this shape (I used B-A).

Duplicate the brim, and rotate it so that it connects with the right edge of the brim. This flap will fold over to make a pocket. (You could also place it to the left of the brim - your choice.)

If you plan on adding a yarn tassel, you can add a small hole for the brad at this point. Add it to the upper left diamond, in the very center. Join to the diamond.

You may also want to add an inner shadow to the main diamond now. You can add a sentiment to this later (if desired). Keep this inner shadow on a separate layer.

Move the pieces so that they touch or overlap just a hair. Now weld all pieces of the main card (but not the inner shadow). Your card is finished! You can add score lines if desired, and you will also want to rotate and resize it to your desired size. You can also add a sentiment to the inner shadow.

Do you want to try this yourself but are a little unsure of the shapes? Well, here is a file with all the shapes that I used to make this file if you would like to try to re-construct it yourself. Or.....

....if you want the completed MTC file for the card and insert, you can get it here through May 31. I used Copperplate Regular font for the sentiment, it is available free here.


As always, happy crafting and I would love to showcase your card on here if you make one!
1 comment:
Thanks, Nelda for the awesome grad card. I am having a giveaway on n return the Friday so maybe I can return the favor. =D
Post a Comment