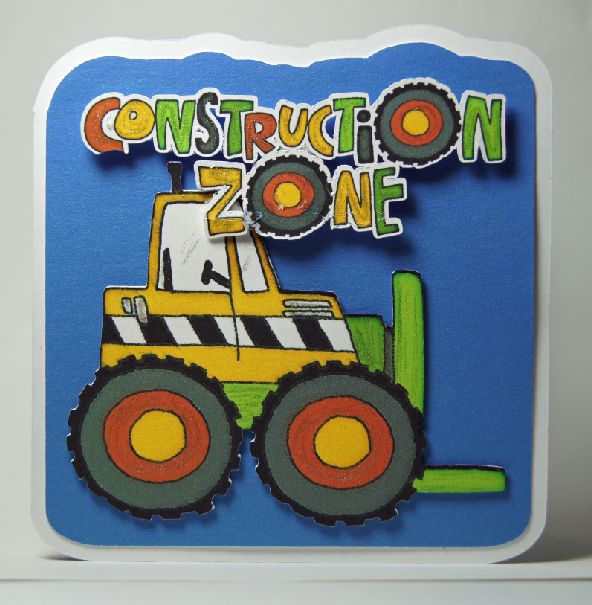
I am still exploring the possibilities of the Lever card designs from
SVG Cuts. This one is for a sympathy card for a dear friend. I am not good at these, I always feel like I say or do the wrong thing. But my thoughts are right! Hopefully this will be OK.
I used a little bling to accent some spots.
There was a fine white line or edge to the cut-outs so I touched up the colors with a matching Copic marker to cover this and give dimension (LD almost always uses the basic Copic colors - I love coloring in with a complimentary color in the same tonal family). I added more dimension to the flat flowers shapes by rubbing them with an embossing tool. This really helped. Of course a rhinestone bling for the center. I also used Gelly Roll Stardust Clear pen on the flowers, the flourish and the word faith. (BTW if you are in the market for Copic markers, I included a link below).
I found an inspirational poem by
Annie Johnson Flint "What God Hath Promised" to place on the inside.
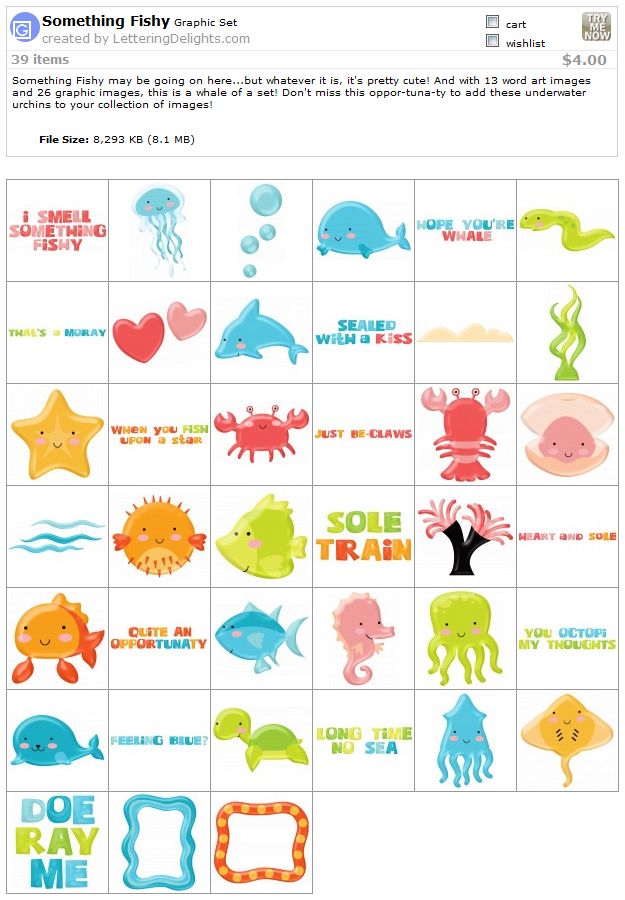
I used the same papers as from
the previous project (it was actually a trial for this one),
Inch by Inch Paper Pack from
Lettering Delights. The texture was resized using the method described
here.
The blue color was color-matched from the blue in the paper by using the color picker tool in PSE. Ditto for the yellow and red hue. The white is actually an off-white taken from the paper as well.
Enjoy life - craft to the fullest! Thanks so much to all who sponsor me by purchasing through my links at the top of the blog - it helps with the cost of maintaining the blog and I appreciate it!
Oh yeah - Copic markers! I have been purchasing Copic Sketch markers one at a time, using the 40% off coupon at Hobby Lobby. This brought the price down to $4.29 (including tax). But there is a
site I found that has them for $3.95 each, and free shipping if you purchase 13 or more markers (the price is listed as $4.87 but drops when you place the marker in your basket).
No tax if you live outside of California. I heard that the price of the markers was set to increase soon so I just made my first purchase at
Carpe Diem Store. I am not affiliated with them in any way but like to pass on a good price if I find one!


